What Can You Use to Put String Art on
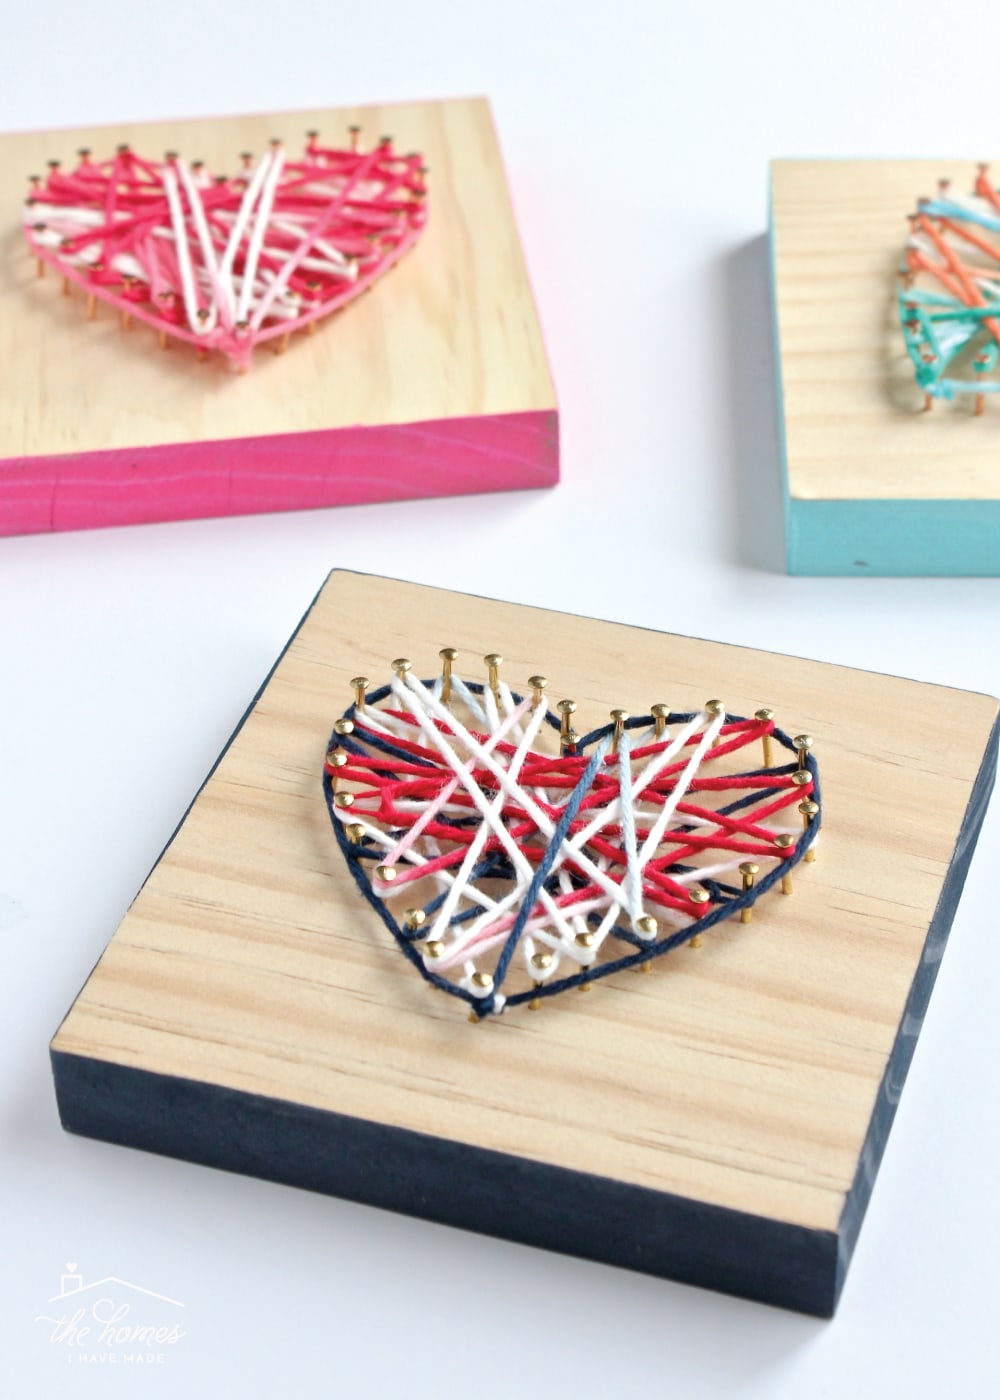
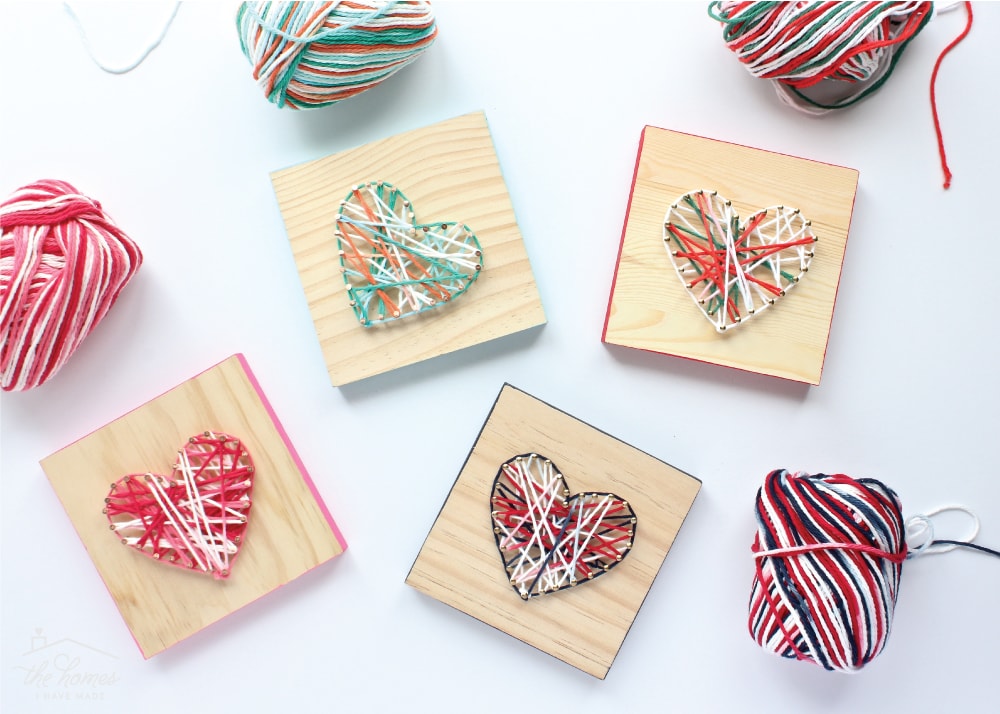
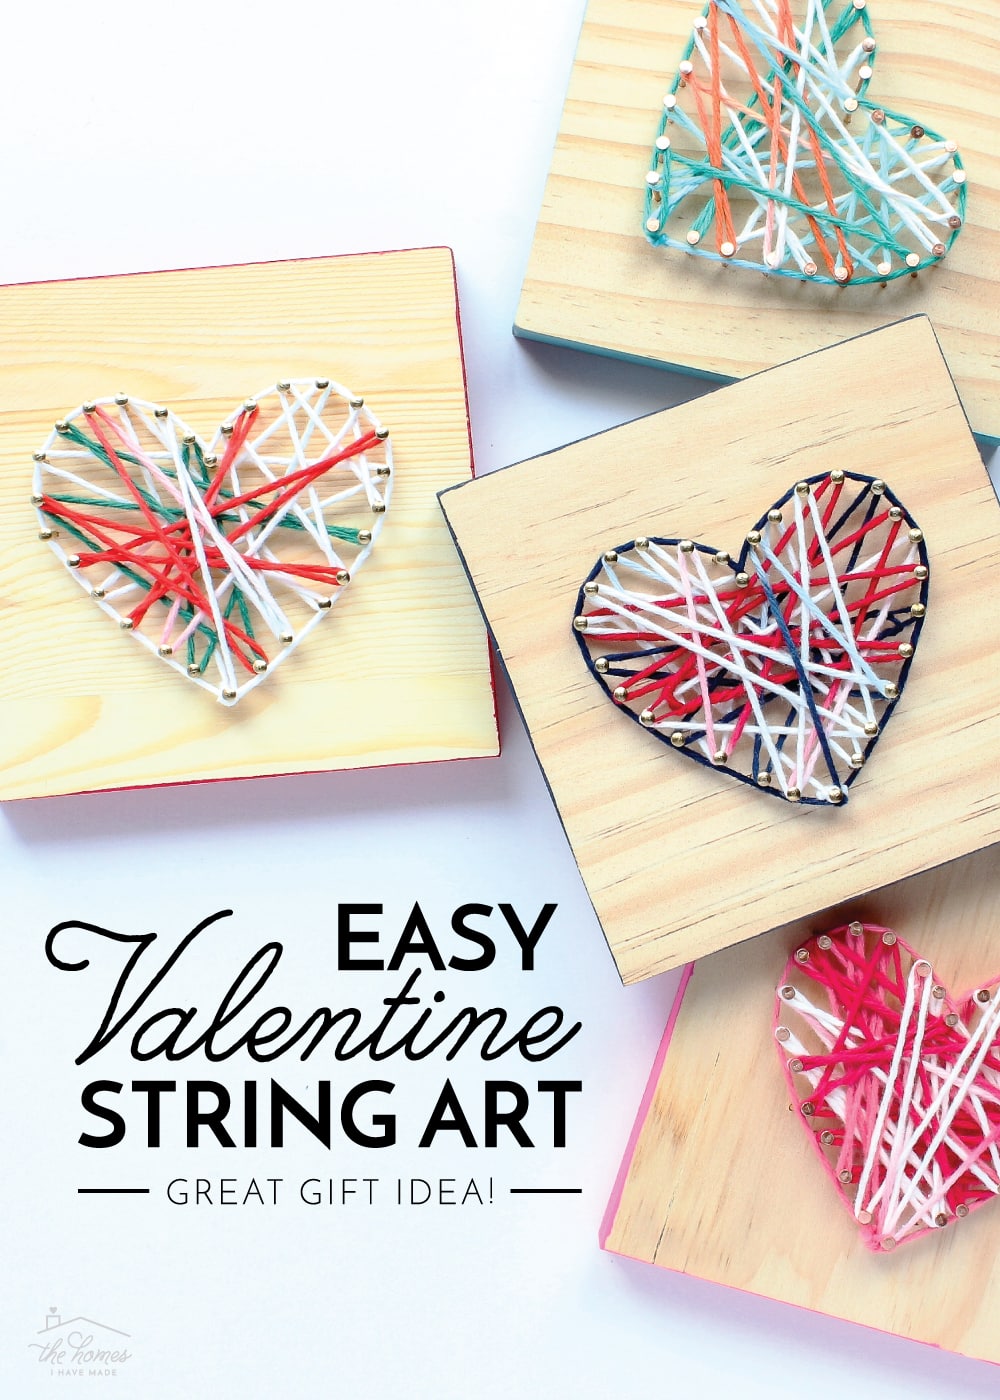
If you are looking for a sweet but really like shooting fish in a barrel and budget-friendly gift idea that your kids tin make to give to their grandparents, teachers, coaches…whoever!…and then I accept but the idea for you lot! These DIY cord art plaques only accept a few supplies (that you can hands find at your local craft shop) and come up together really fast. They are fun to make and tin can exist customized in countless ways based on what vacation you're making them for or who y'all are giving them to. Let me show you how they come up together so you can whip some upwards as Christmas or Valentines gifts too!

This simple DIY string fine art project really came about in a fun way! I first came up with the thought as a project for a birthday brunch I threw for my girlfriend a few months ago. I wanted something that could keep our hands decorated while we visited and could be taken home as a political party favor. I had a hunch a sting art project (which I had really never washed before) would be fun and somewhat mess-free, but I also wanted to keep it really uncomplicated and cheap. So I hunted around Michaels and establish the perfect supplies for the project. I and then made a quick sample to put out at the party and allow my guests get creative on their own! The results turned out fifty-fifty more darling than I could have expected, and I tucked the idea away to share at Valentine'due south Day.
Merely then Henry came home from school and saw my piffling heart projection and begged…literally begged…to brand one too. Information technology never occurred to me that this could be a actually fun kids' craft, and then I bought a few more than wooden plaques and helped him create his own cord art for his sleeping room. No surprise…he picked an X-Wing fighter over a heart 😉
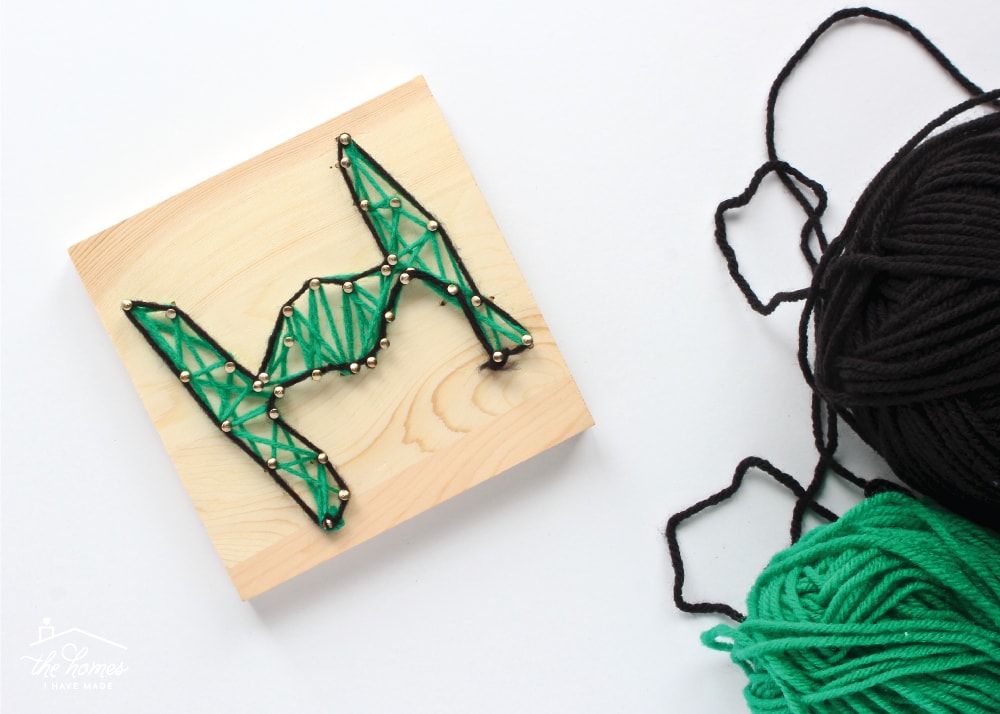
With the exception of helping him get some nails into the tighter corners, Henry did that art all past himself, even picking out which yarn would go where (he's vii.5 years old). And so I thought…not just would these be a great classroom project (if you're okay with a lot of hammering dissonance!), but would also brand actually, actually sugariness kid'due south gifts for family unit members, teachers, etc!
I kind of got addicted to making them because they're and then darn cute, and I simply know you volition all LOVE how quickly and easily they come together…so let me show you how it's done!
Supplies Needed
My 2 main priorities with this project were 1) inexpensive and 2) piece of cake. If you expect up DIY String Fine art on Pinterest, y'all'll see all sorts of crazy and astonishing ideas. I wanted this to be something that could exist done fast and while ladies were chatting…and it's this verbal simplicity that too makes this project perfect for kids! Here is what you need:


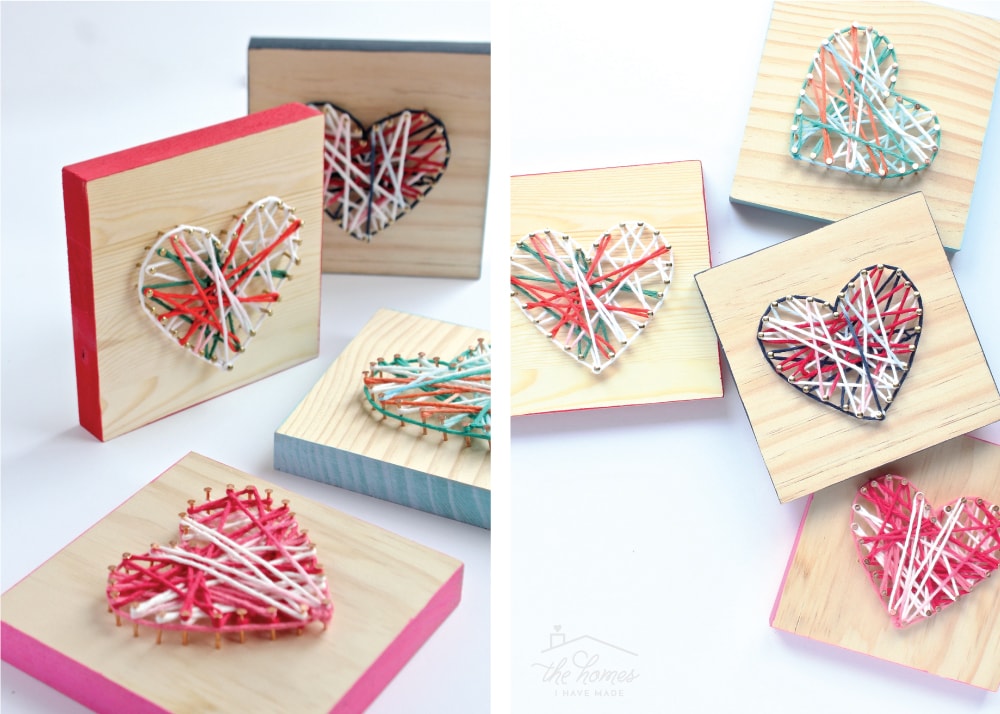
- 5″ square wood plaques – I constitute mine at Michaels for $0.99 a piece…I honey this mesomorphic square because it stands up on its own (perfect for bookcases!), but you could certainly use any size and shape wooden plaque you lot tin can detect! This bulk ready is another swell option!
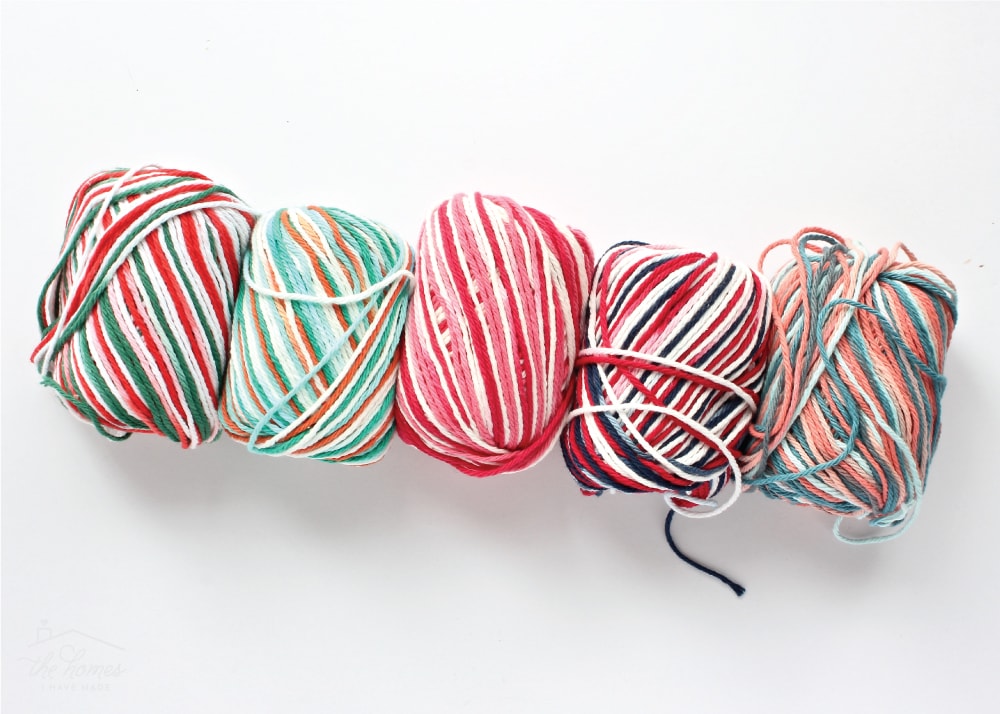
- Variegated yarn (more than on this beneath)
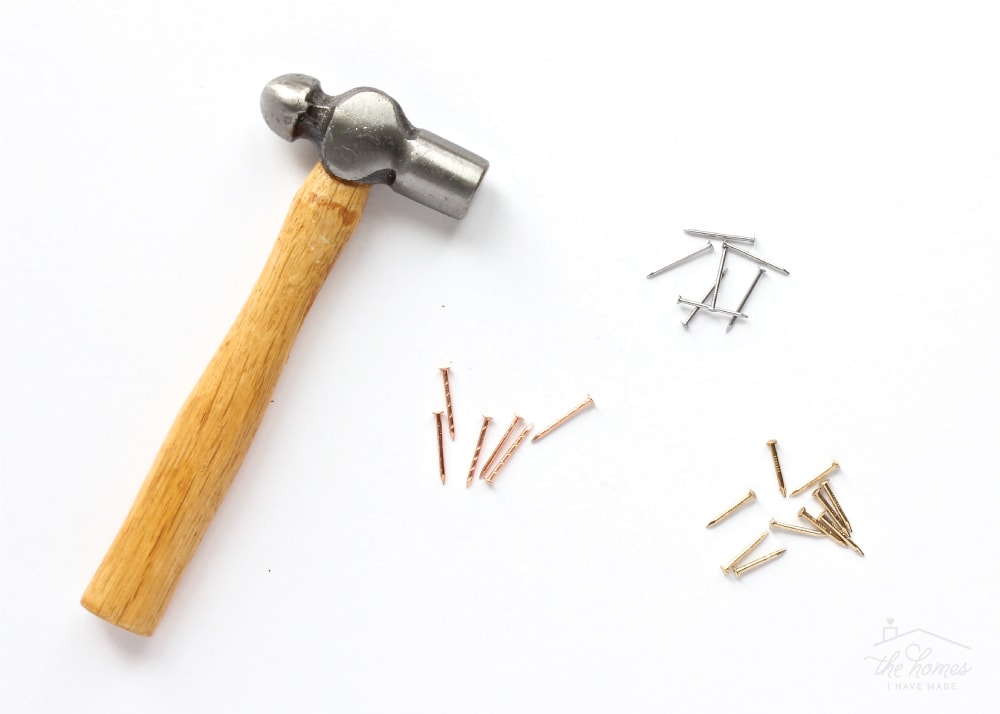
- Small nails (more on this below)
- Tack hammer – any hammer will probably work, just I find these small-scale craft hammers perfect for the tiny nails. And if you're doing this equally a political party or classroom craft, become a few!
- Acrylic pigment and paintbrush – choose a color that matches your yarn, these are my favorites!
- Thumb tac (not shown)
- String art template sized to nigh 3″ wide – I used this gratis heart template, only yous can use pretty much any string art template y'all tin can notice. Try using Google to find costless designs (that's how I found the X-fly), or this shop on Esty has dandy designs too!
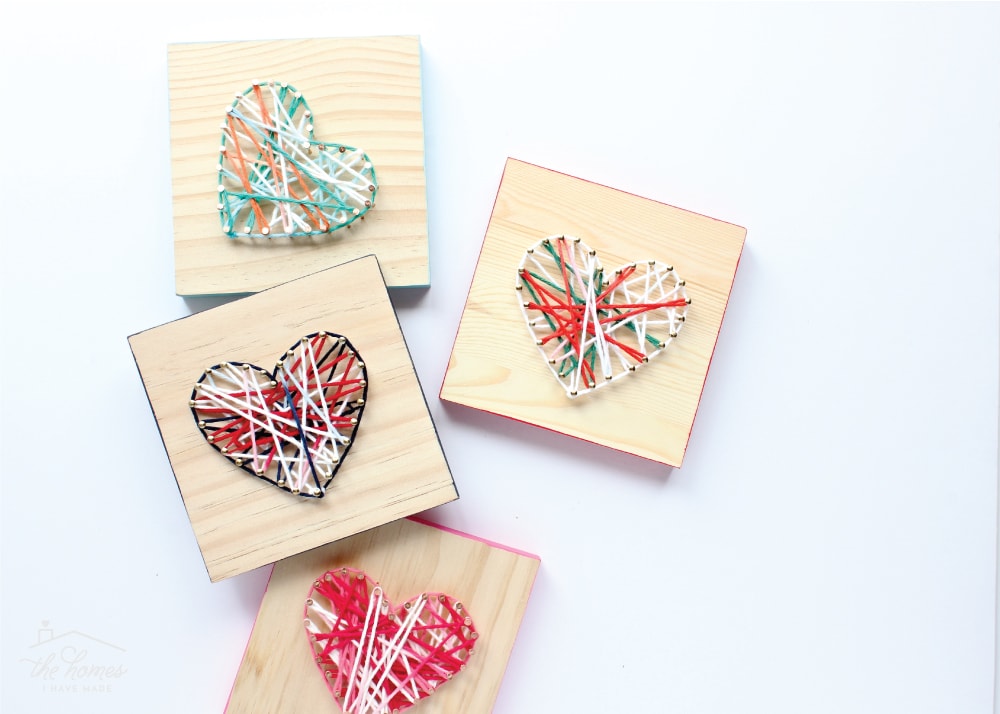
A quick note about the yarn. It'south actually when I stumbled upon all these Sugar'due north'Cream yarn skeins at Michaels that the idea for this project really came to life. By using yarn with dissimilar colors, you end up with a actually pretty final product with only using i piece of yarn all the fashion through. In that location are dozens of color options, and so you can easily pick unlike schemes based on which holidays or people yous are making this for!
TIP! Yous can see AAALL the various colour options here, but note that these skeins run about $1.99 each at Michaels and ofttimes go along auction!
Since I originally did this arts and crafts for a political party, I besides wanted to provide different blast colour options. I constitute the best selection at Lowes (in the section with thumbtacks and hooks) and bought silver, copper and aureate versions…all which look cracking with the different yarn schemes!
Making the DIY String Fine art
In one case you find a template you beloved (again, finding a design is easy on Google or Etsy), re-size information technology to exist about 3″ broad (obviously arrange the size if y'all utilise a bigger wooden plaque). And so tape the template onto your wooden plaque, orienting it exactly equally you want.
TIP! If you're doing this for a class or political party, run off lots of templates and then everyone has their own.
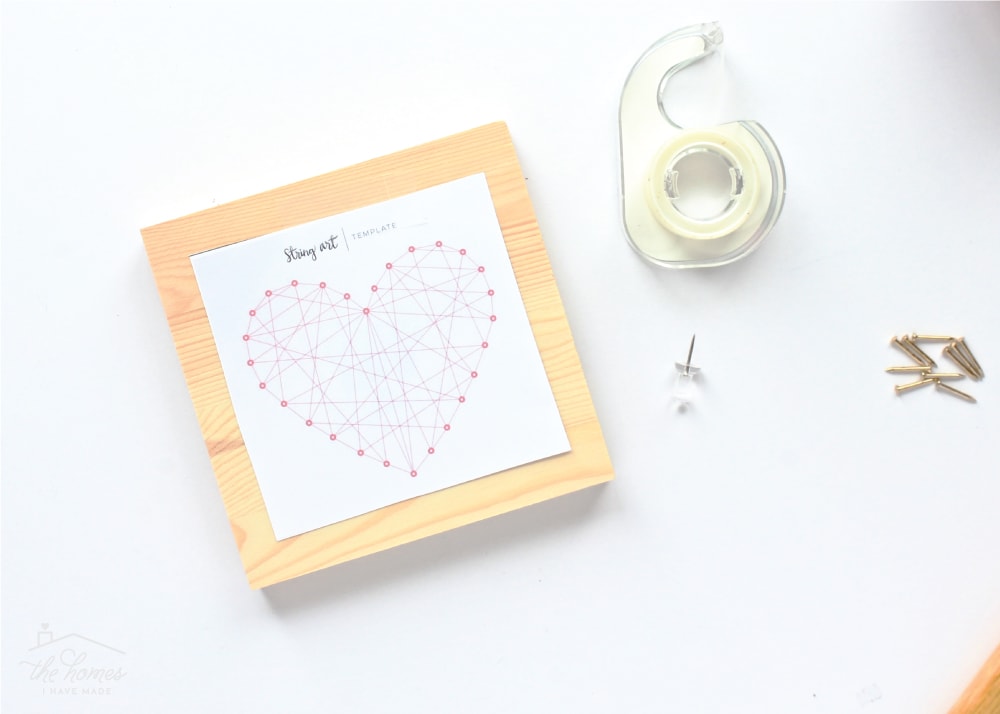
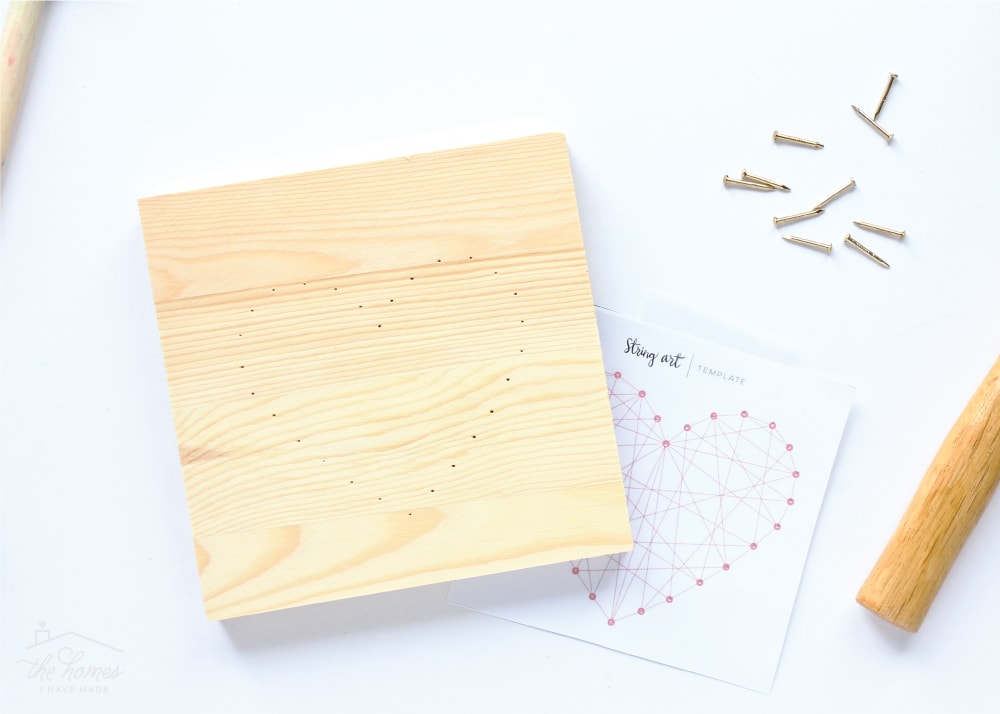
Next, employ a manifestly ol' thumb tac to pierce the paper template where each boom should get. Push hard enough so that you puncture the forest underneath likewise.
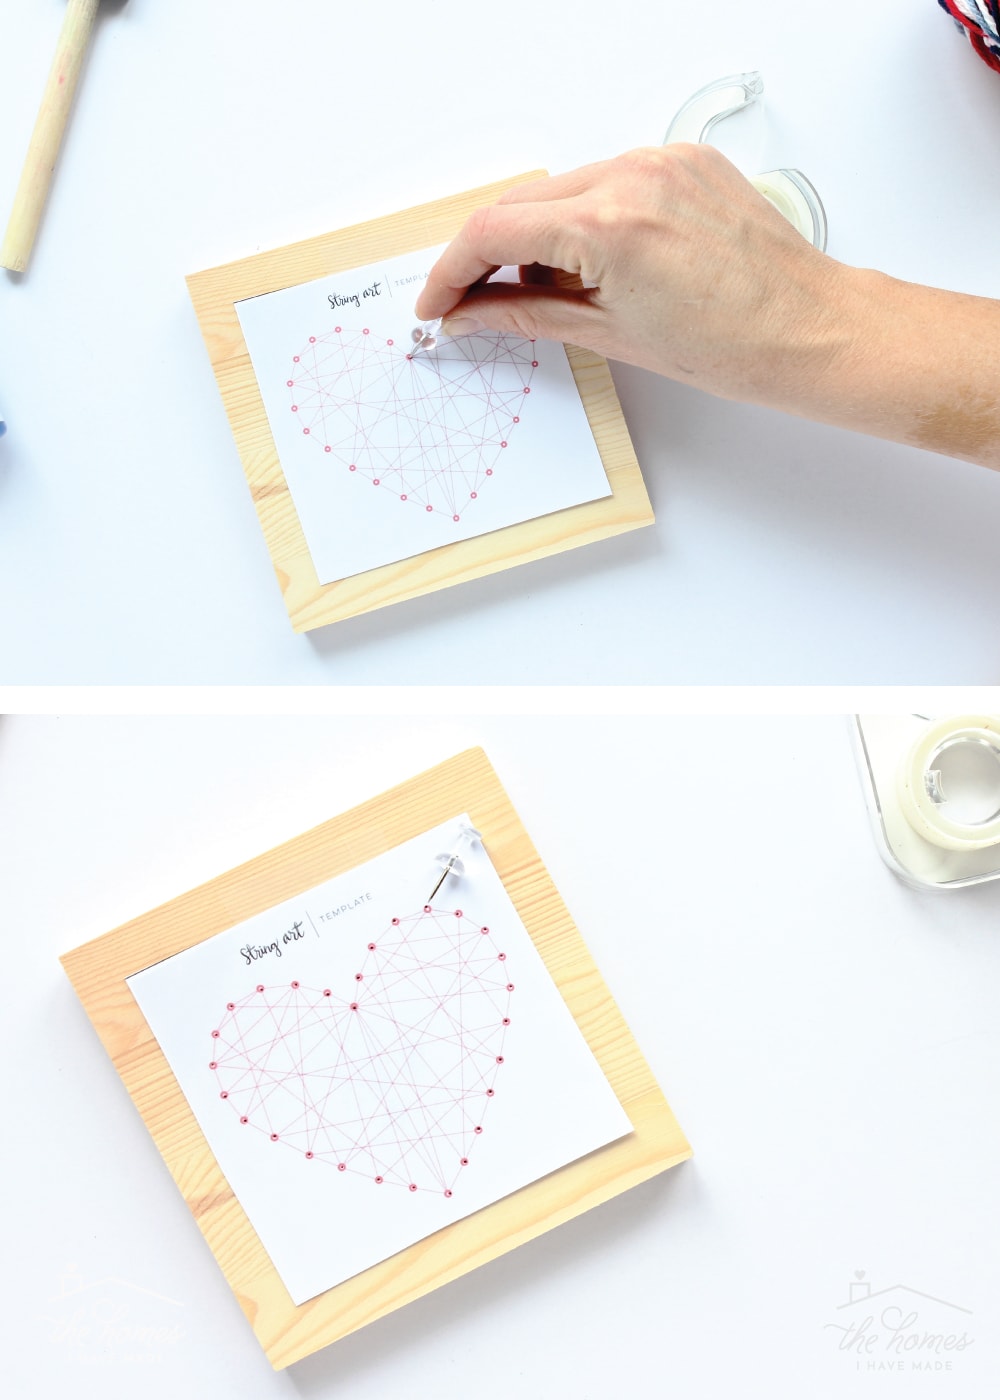
When you remove the paper template, you should be able to run across exactly where each boom should become. (You can discard the template at this point, equally you will no longer demand information technology!)
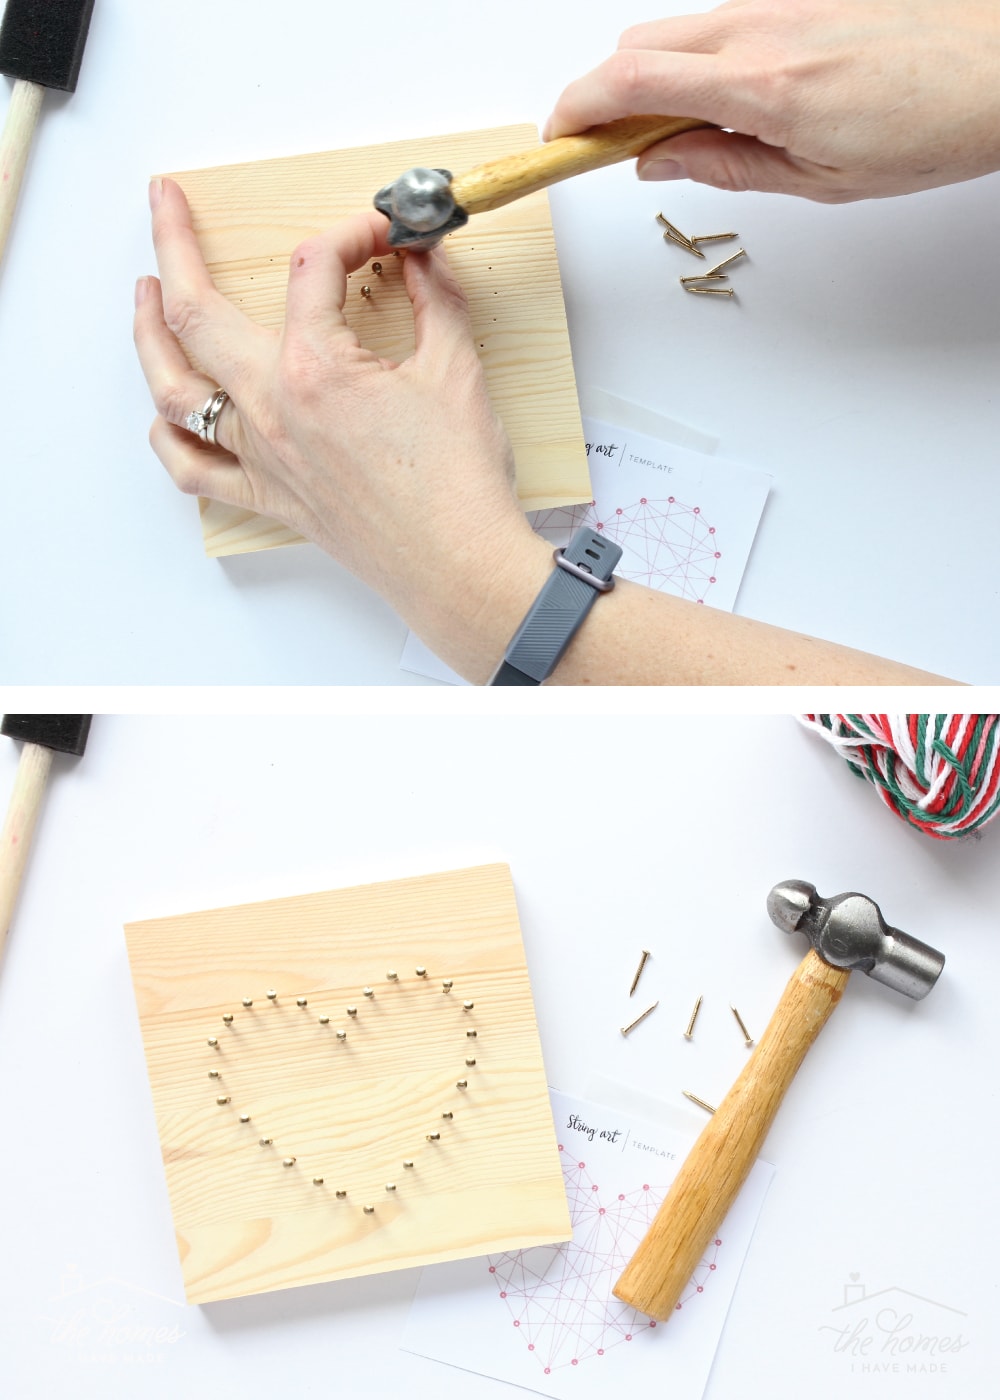
Adjacent, use the tac hammer to boom each nail into the wood in the designated spots, leaving virtually 1/4-1/two″ gap between the superlative of the nail and the woods surface. Try as best you can to put the nails in straight and even, just don't stress too much about it. If you look closely at Henry'south X-fly, they aren't at all straight or even, but they held the yarn simply fine!
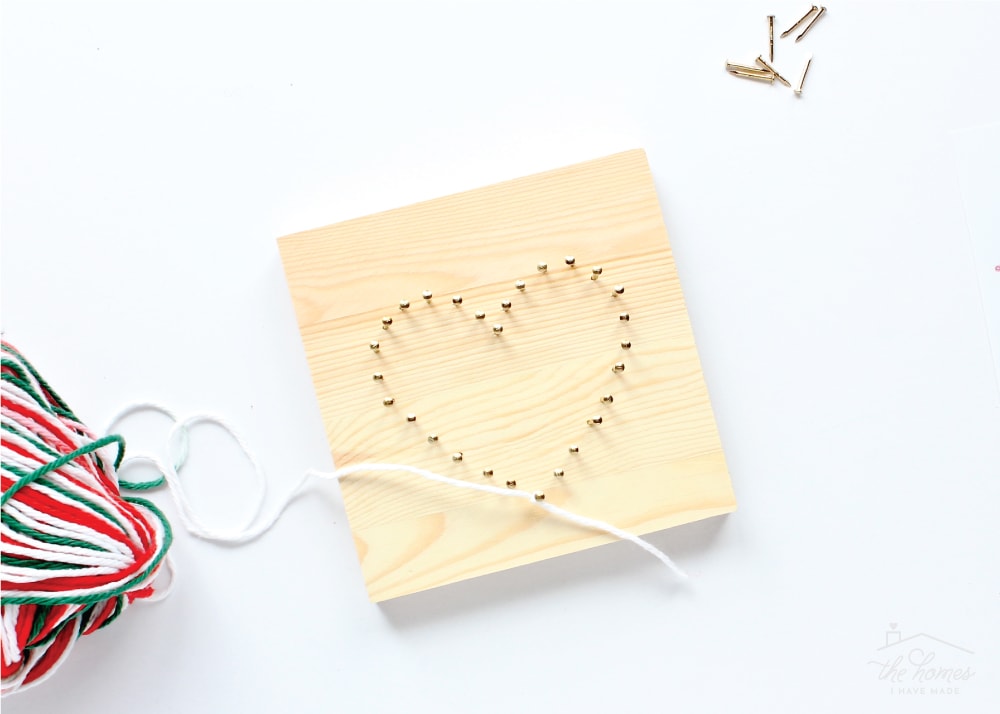
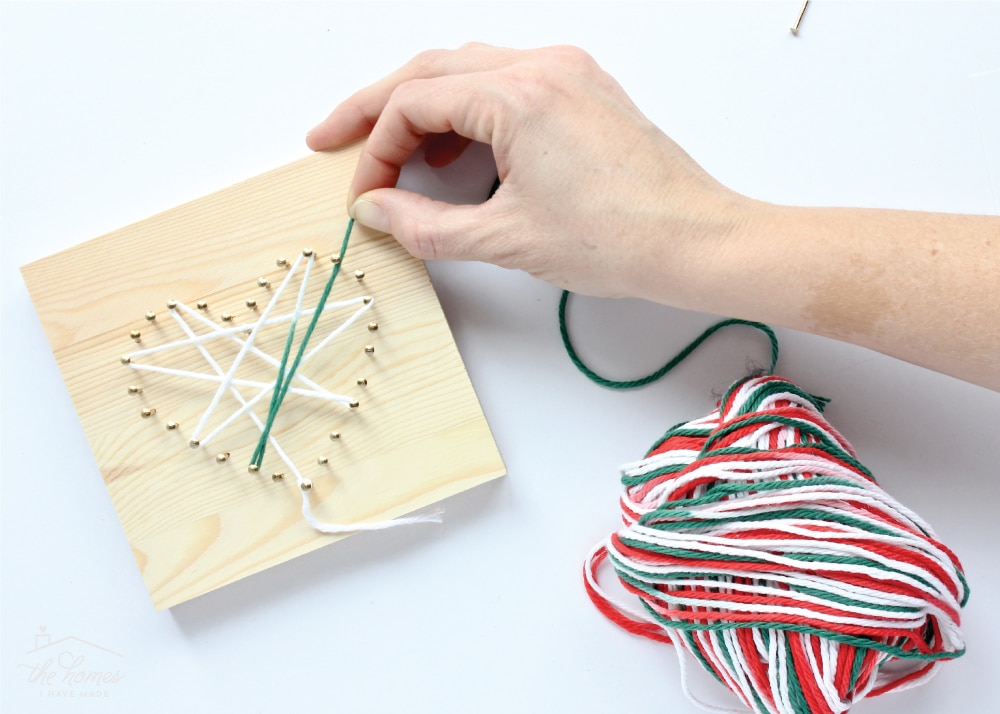
Then, take the end of the yarn and knot it twice around ane nail, leaving a tail of two-3." It doesn't matter which nail you use, but I suggest one well-nigh the bottom of your design.
Then just wrap the yarn around the nails, moving dorsum and forth beyond your design equally much equally you lot can, keeping the string taught. At outset I tried to be actually systematic in my stringing, only I but grew frustrated. I found information technology easiest to simply string the yarn randomly while even so making certain I hit every nail at least one time.
TIP! Considering the nailheads are small, the yarn has a tendency to pop off the previous nail. If necessary, apply a finger to hold the yarn on the previous smash while you wrap it around the next. In one case y'all movement on, the yarn volition stay in place.
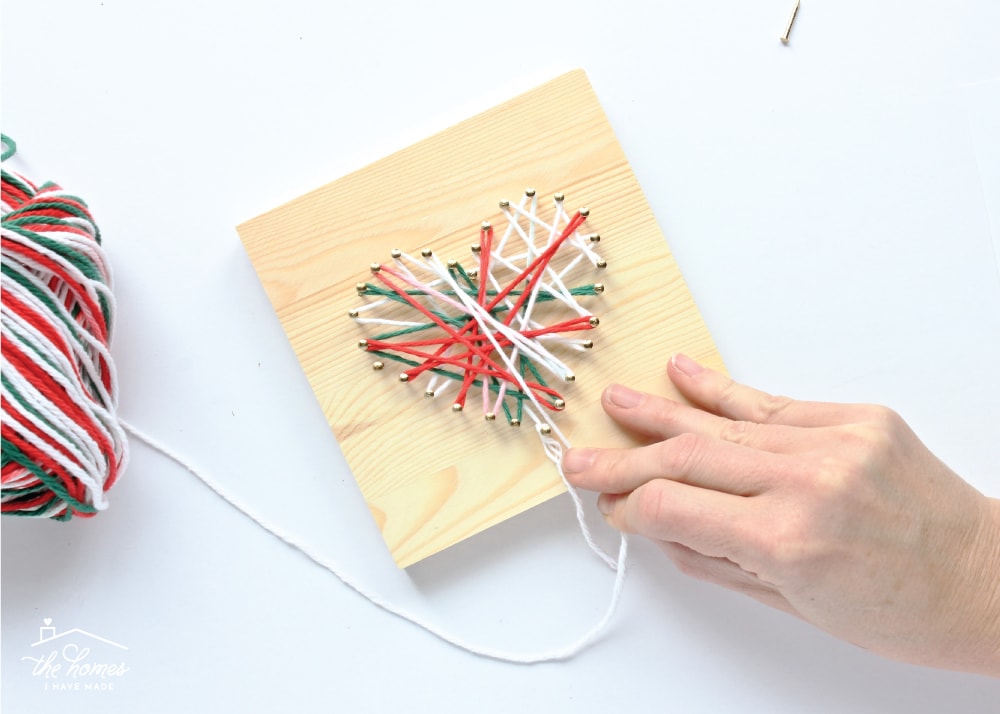
The more yous cord your yarn back and forth, the denser and more colorful your pattern will exist. Keep weaving dorsum and along until you're satisfied, so end up back where you started.
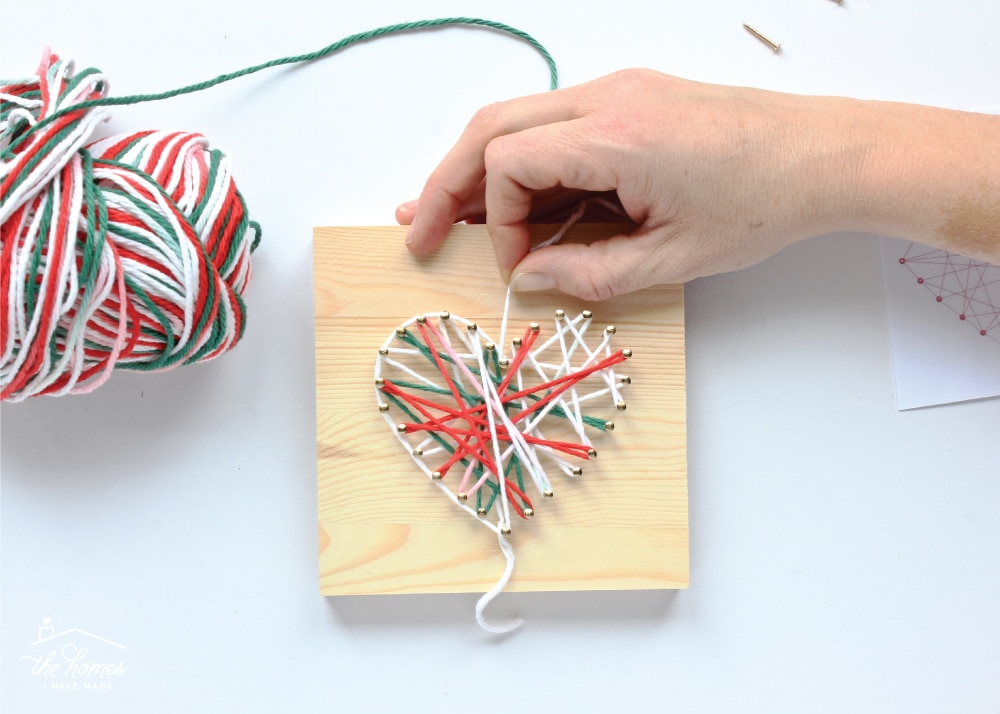
Earlier tying off the yarn, I advise wrapping the yarn around the entire perimeter of the pattern. This just helps give a clearly divers border and solidifies the design a chip.
TIP! Y'all don't need to do anything fancy as you go around the perimeter, simply it does help to become around the smash(s) at the corners/intersections earlier moving on. I just looped around that top eye blast before going around the right side of the heart.
In one case you become all the way effectually and back to where your original tail is…
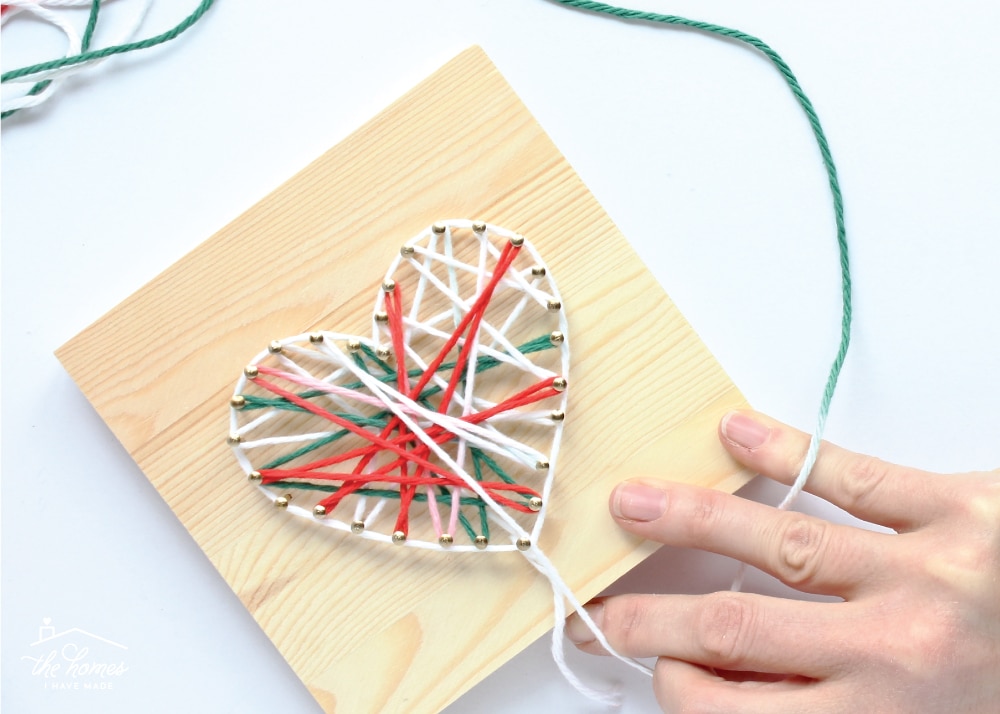
…just knot off the strings (using the original tail) and trim off the backlog.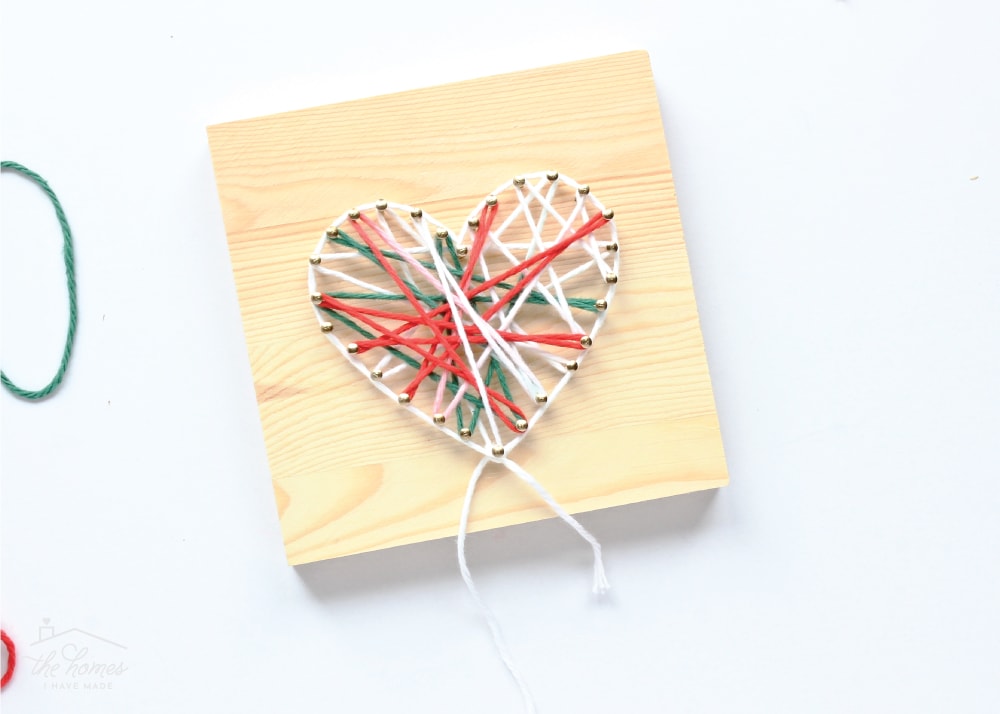
This last step is optional but I think information technology makes a huge difference! Merely use some matching acrylic paint along the edges of the square plaque. There is no demand to record it off or make yourself crazy well-nigh it…just paint the border for a splash of color!
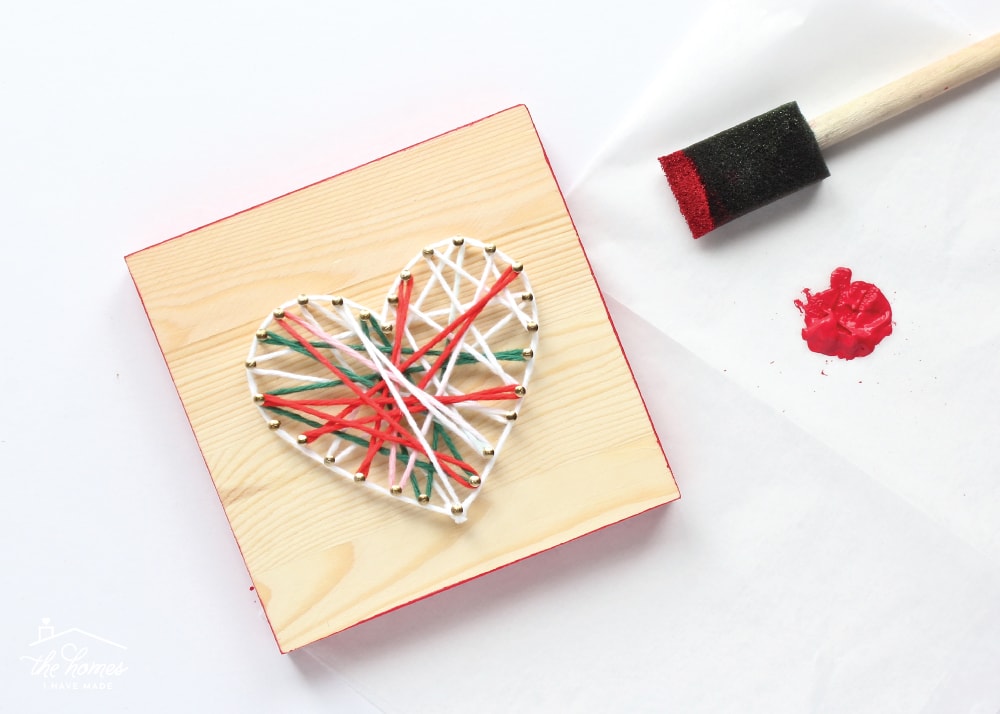
In one case they are stood up, the pocket-sized bit of colour makes a big touch on!
Start-to-end, this little middle pattern took me about twenty minutes…if that. The nailing is the longest and nearly deadening step only the stringing and painting accept only minutes. Surely information technology would exist longer for kids, only even Henry had his X-wing washed in one sitting. 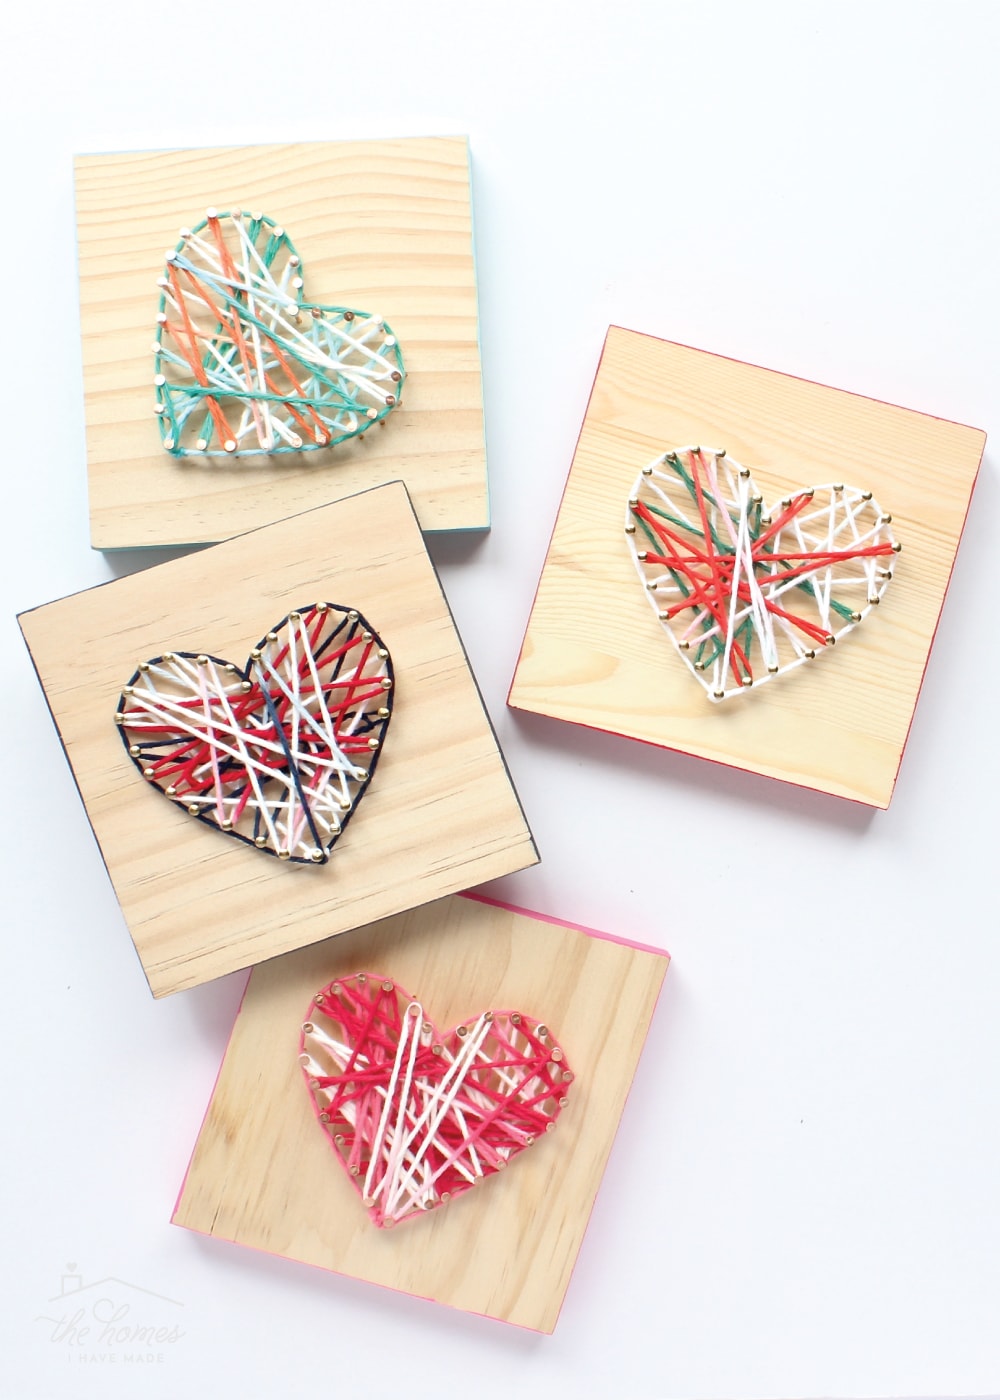
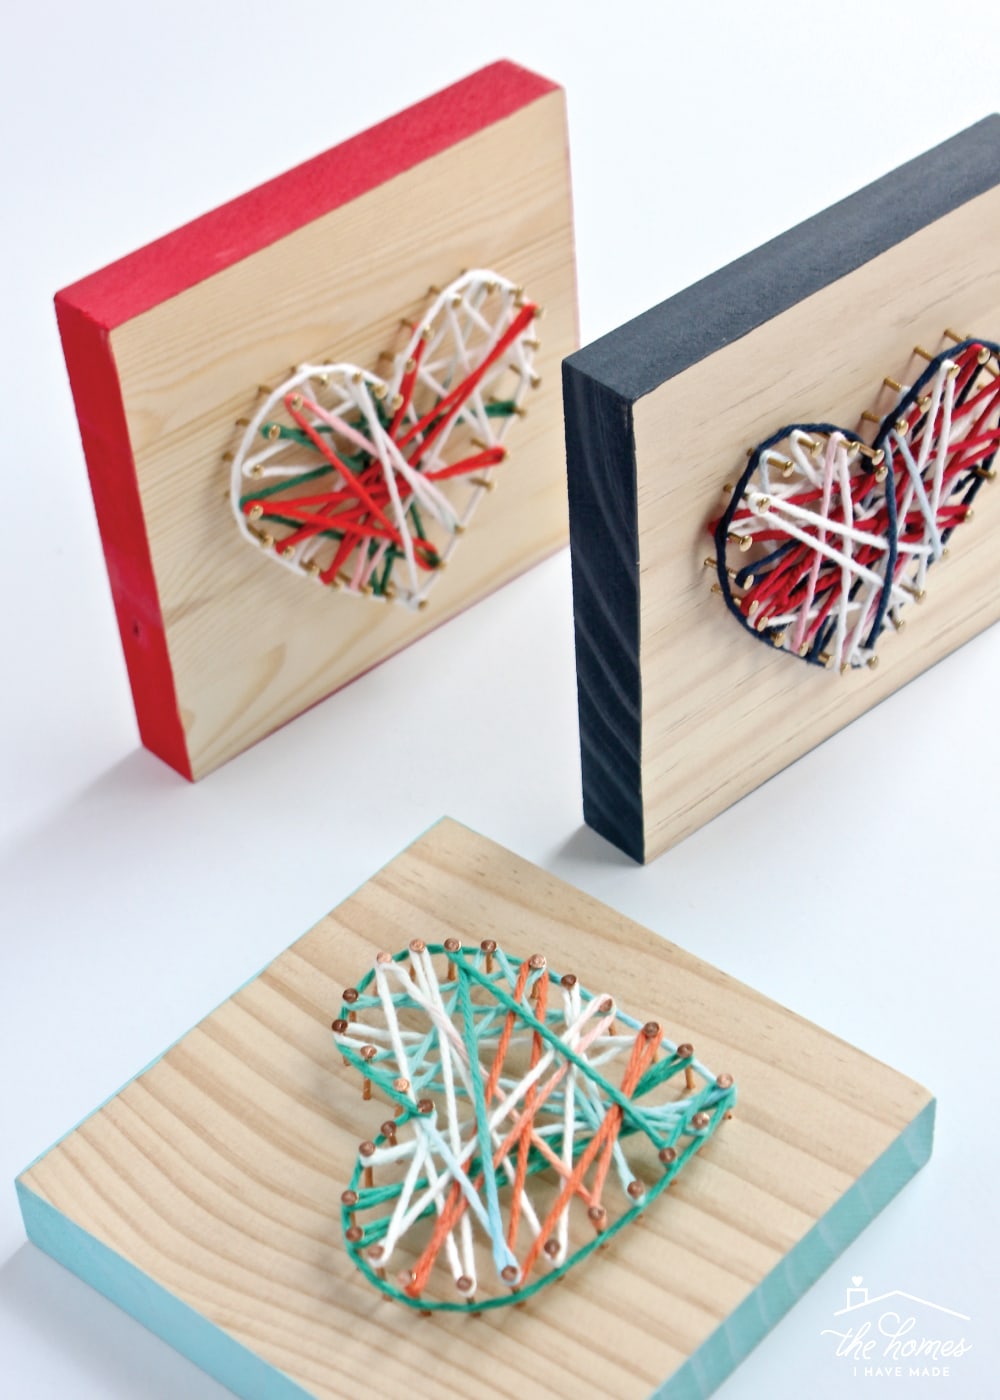
Even though the supplies are inexpensive and unassuming, the combination of the yarn design on the raw forest gives this projection a really funky, modern, handmade-chic vibe. And by keeping the pattern small and using a unmarried piece of yarn, this actually is a quick little project…ideal for kids or the classroom, likewise equally a ladies' craft night or every bit DIY gifts! I loved this DIY String Fine art project, and I can't wait to accommodate this projection with other designs, and hope you lot give it a endeavor too!
Happy crafting my friends!
See You Before long!
Megan
Source: https://thehomesihavemade.com/easy-diy-string-art-gift-idea/
0 Response to "What Can You Use to Put String Art on"
Post a Comment